Pages

Showing posts with label tutorials. Show all posts

Monday, March 8, 2010

Pillow Makeover: Quick Envelope Back Pillows

The pillows on the living room sofa have been bugging me for a while.  First of all, the sofa was not supposed to be in the living room, but in the basement, but when it was delivered it wouldn't fit down the stairs.  So, until we move, and we really don't have a need to, it will remain. 
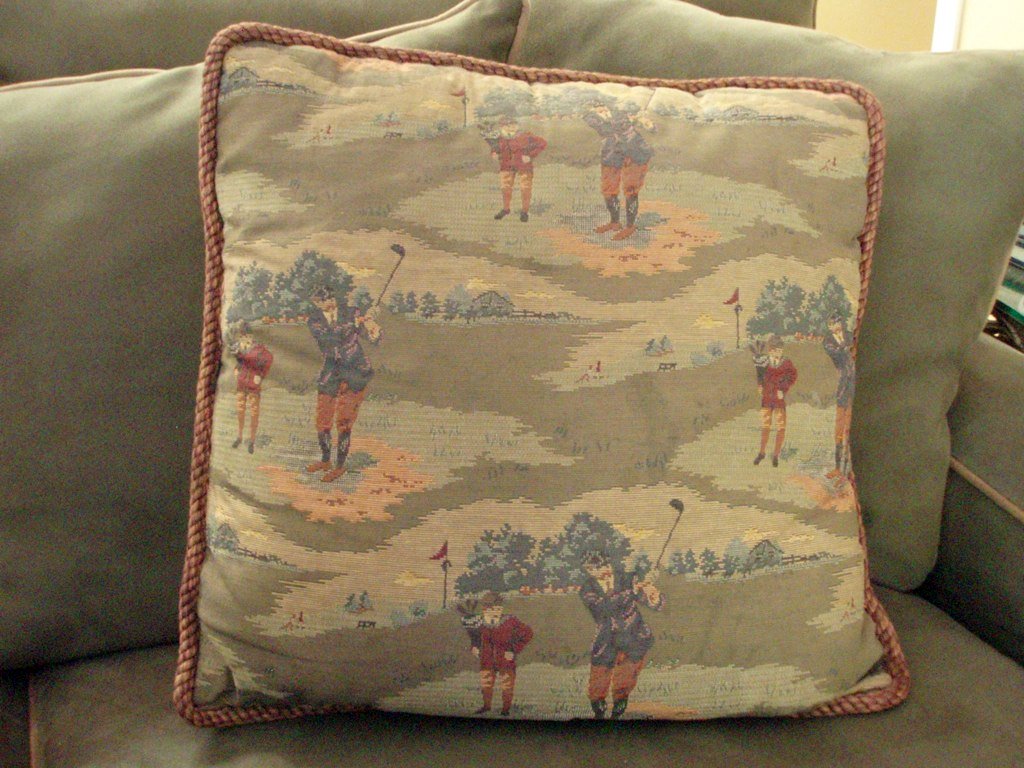
 
Hubby was thrilled when his themed throw pillows matched, so I acquiesced.  It's all about compromise, right?  However, even he has admitted lately that they are looking a little worn.  The cording is unraveling, and let's face it, it's been a long winter and these are a little dreary!
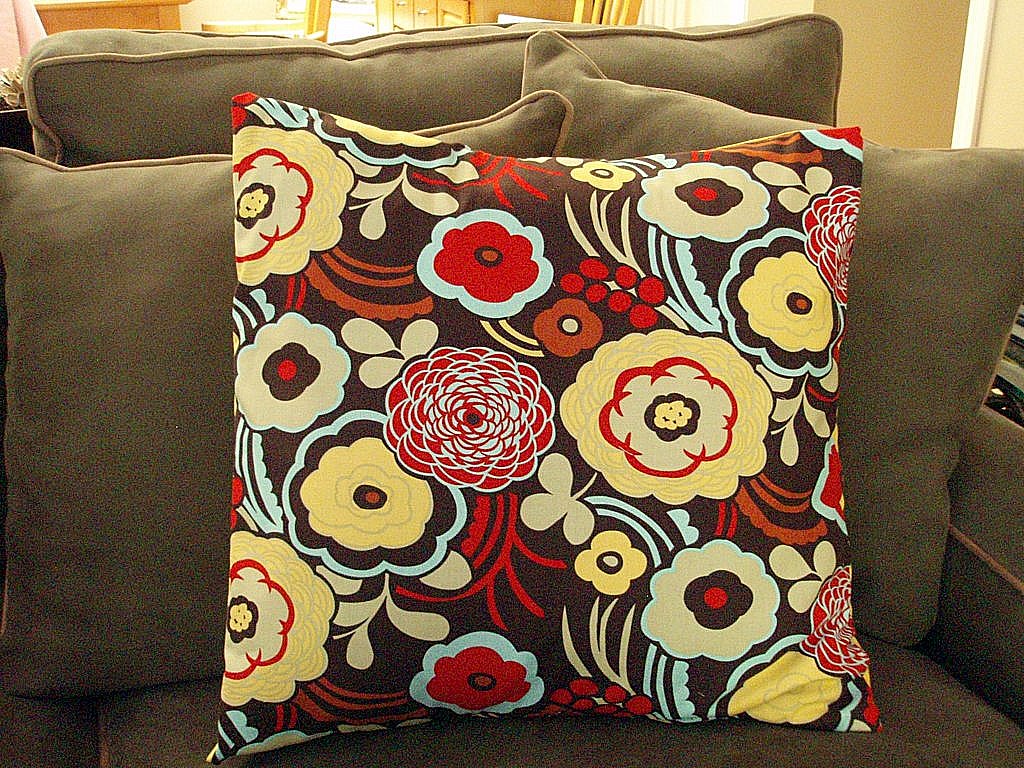
 Spring has now officially sprung in our living room!  Yeah!  Those of you who know me know that my life has always been filled with bright and cheery things.  So now I have a little piece of spring in my living room while I await the snow melt.
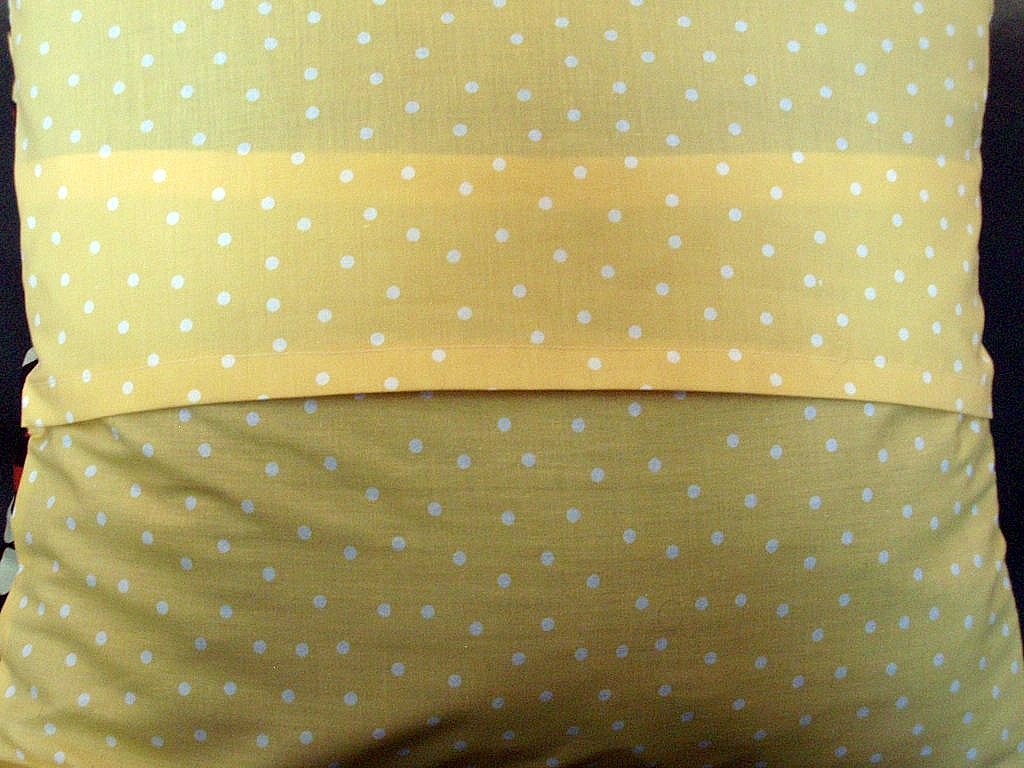

This is the back of the pillow.  No buttons to fool with.  Easy in, easy out-- just in case he hates them!

HOW TO MEASURE FOR AN ENVELOPE PILLOW:
1.  Measure size of existing pillow and add 1/2" seam allowance all the way around.  My pillow was 20" square, so I cut my squares at 21" allowing for 1/2" on all sides
2.  For pillow back, cut 2 pieces.  Divide by height OR width, depending on how you want your envelope oriented by 2, then add 4 ".  For example, 21"/2 = 10.5" + 4" = 14.5", so I cut two pieces with a width of 21 and a height of 14.5
3.  Hem the the bottoms of the back pieces with a 1.5" double hem (so, turn up 3/4", then turn up again, then stitch)
4.  Place front piece right side up, then the other pieces right side down so that they overlap each other, but are even with the front piece, pin, and sew all around with 1/2" allowance.
5.  Turn right side out and stuff with your pillow!

If you want more info on how to do this, I suggest the following website:
www.sew4home.com, or the book The Sewing Bible, as they both have great tips on pillow making!

Weather in the 40s the last few days - could it really be Spring?

The Real Housewife of Sheboygan County

Thursday, January 21, 2010

Coffee Sack Crafts: My new bulletin board

I have been transitioning my old work desk from my past corporate life, into my crafting area and one thing was missing -- an "inspiration" board to pin up ideas, photos, bits of fabric, or other things that inspire me.

I ran across this post from Lil Blue Boo last year on a dress she made that was inspired by a coffee sack, and it got me thinking.  What happens to all those coffee sacks after the roasters are done with them?  I contacted someone I know at Torke Coffee in Sheboygan, WI.  He was more than happy to save a few sacks for me, and I was one step closer to my new bulletin board.

These sacks are very large, and the burlap is a little hard to work with - lots of fibers fly around when you cut it.  I don't recommend wearing black, or knits.  I learned the hard way, trust me.  I also washed the sack before using on a quick cycle, then hung it dry.  Be sure to get all the beans out first - again, I learned the hard way!


I cut the burlap to fit the bulletin board, then used a staple gun to secure it.  Finally, I cut ribbon for the trim and glued it on with fabric glue for the finishing touch.  Easy, and I have something attractive above my workspace.


I also added a little bling in the corner - a reminder of my time living in New Orleans to keep inspiring me.

There is another tutorial here by Maya Made.  She also sells a pattern on Etsy for these cute coffee sack buckets, so I might have to buy one to use up some of the extra sacks I have.  The dog needs a new toy basket!

Happy Crafting!

The Real Housewife of Sheboygan County


Tuesday, January 19, 2010

Project Planning: The Gum Boot Makeover (or how to trick out your Wellies)


I still haven't slept much in a couple of days due to this darn cold, but have managed to be pretty productive nonetheless.  Today I purchased some fabric on sale at JoAnn that I will use to make a couple of projects.  I live in Wisconsin where the winter can be brutal and it seems to last forever, so one must have a collection of boots for all occasions because you'll most likely be wearing them until the first of June!  


I have a cute pair of what my family calls "gum boots" but others seem to call "Wellies" or "Wellingtons" that I purchased at Target last year.  They are great for rain, but not so good in the cold, so I found a cute tutorial here that I will use to make some linings for my boots so I can wear them in the slush as we start to thaw this spring.  


My boots get a workout in the summer while I'm working in my herb garden or volunteering with the Sheboygan County Master Gardeners, so it will be nice to have some options!


Here is the fabric I picked up today.  The solid colors will be the linings and the prints will be the cuffs.  The colors are much more beautiful in person, but I have yet to get the lighting right, so you will have to use your imagination.


P.S.  We had a doctor's appointment today and all is great with the baby.  She weighs 2lbs 6 oz now, so is on track for a normal delivery around April 16.  And, the doctor said I could take some Sudafed & Tylenol PM, so maybe I'll get some sleep tonight!

Hopefully I'll dream about my herb garden.  Do you have a favorite herb?

The Real Housewife of Sheboygan County

Monday, January 18, 2010

Insomniac Crochet:

I am not at my best today - still in my jammies and it's almost noon.  You see, I woke up at 1:45 and couldn't go back to sleep.  This has been a problem recently, and not sure if it's due to the pregnancy, or just too much going through my head.  Oh, and I have a cough and a little bit of a stuffy nose to boot, and can't take the usual Nyquil because of the Bambino.  

The middle of the night is when I get some of my most productive crochet done, so there is a positive in this lack of sleep.  I am trying to expand my skills as a left-handed crocheter, so thought I would try a new pattern that uses Foundation Single Crochet, since it's a technique I haven't tried before.


The pattern is from Alice at Futuregirl and is call the Starling Handbag.  I keep wanting to call it the "Starlight Handbag" - seems prettier than a Starling.  I decided to make the large bag, but if it turns out, I might try to make an XXL bag to use for a project bag.  This will be not only my first crochet handbag, but also the first time I will make a lining for something, and Alice has a tutorial for that, too!  I can't remember how I stumbled upon her blog, but I am glad I did.  Now if you're left-handed like me, some of the directions will be different, but I'm getting pretty adept at flipping things.  There are also some left-handed crochet videos on YouTube, so just enter this in the search and you'll probably find what you need.

So far, so good!  The yarn is a nice Mission Falls 1824 Cotton that I purchased at Magpie's Cottage.  They have great colors!

So, tell me, what do you do when you can't sleep?

Friday, January 15, 2010

What I've been up to this week!

I haven't posted on the blog this week until now, so I will do a wrap-up of what I've been working on.


The Anniversary Scarf:  Jim's anniversary present - almost done


The yarn is Jarbo Garn Duo, purchased at Urban Arts & Crafts when I was back in Kansas City over Christmas.  It's acrylic, but very soft, and should wash well.  It's a very simple pattern that I got from the Ravelry website called "Simple Textured Crochet Scarf".    It's hard to find something that is "manly" sometimes, and I thought this pattern fit the bill.


I also made a scarf for myself, inspired by this tutorial on the Make It and Love It blog.  Here is how mine turned out - not perfect, but I've worn it twice already.  Next time I will make it a little shorter, I think, but will try this tutorial from Sew Much Ado with the rest of my material.  If it turns out, I might make some for my nieces.  P.S.  You can also barely see my anniversary gift - the Tiffany heart necklace.  I love it, as it's so lightweight I barely know I'm wearing it and I love the way it looks.


Finally, I got some new yarn on impulse yesterday as I was cruising through JoAnn previewing what was going on sale later this weekend.  I loved the color, so bought a couple of skeins and will make a Moebius Cowl (similar to this one) for myself.  I'm not sure the photo does the color justice.  As you can tell, I like to work on many things at once, or I get bored!


I'm still working on the baby blanket, I hemmed two pairs of my husband's jeans this week, and will probably try to clean out some of my magazine clutter over the weekend.  Hubby has to work this weekend, so I will have plenty of time to craft, daydream, watch the birds and play with the dog.

I hope you have had a good week!

The Real Housewife of Sheboygan County

Thursday, December 17, 2009

Simple Gifts


For many years, my Granny supplied our family with "the best" scrubbers you'll ever have.  She took time to buy the tulle net - the scratchy kind, not the kind for making tu-tus - then spread it out on the floor, carefully folded it, pinned it to the carpet so it wouldn't move, and cut it into 3 inch strips that were about 6-8 yards long.  Not an easy feat even at my age, but you must know that Granny is 91!  

When my mother told her I was learning to crochet, the first thing she said was "she can make the scrubbers!"  So, the last time my parents visited, my mom brought "the pattern" and we bought the netting, did the cutting, and had many laughs imagining Granny doing this herself while the net slipped around.  It's not an easy material to work with!

I worked the pattern, and don't you know that it looked nothing like Granny's!!   We called her to discuss.  She assured me that the pattern was correct, then at the end of the conversation, she said, "It's just 14 double crochets, or until you run out of net, then slip stitch and work in the ends...."

Light bulb moment - even though she had the pattern, she made up her own!  Now, it all made sense to me, although it always made sense to her.  

The above photo is my "pile" of scrubbers that I will be handing out to family this Christmas, and I'm sure every Christmas until I can no longer cut the net.

Here's how to do it - again, use your best judgement and play is by ear, like Granny!:

Buy 8 yards of scratchy tulle net, cut into 3 inch strips lengthwise (folding the material really helps here)

I use a size N plastic hook - plastic just seems to work better with the tulle

Ch 3 or 4, join into ring w/ slip stitch
Work as many Double Crochets as you can into this space (it's usually between 14-18 for me)
Slip stitch to finish and weave in end.

There.  It's that easy, and I'm sure variations have been passed down for generations.  

Happy scrubbing!

The Real Housewife of Sheboygan County

Related Posts with Thumbnails